Earlier this month I moved in with my boyfriend.
It made sense given the rental crisis we’ve grown too accustomed to. But to say his space needed a little love was putting it lightly.
Not a single picture could be found hanging on the big blank walls that made up his home.
It’s not the be-all and end-all, of course, as he makes a gracious homemaker, never leaving a dirty dish for too long and always folding the washing just how I like.
But I need… more from my space.
For me, investing in my home means investing in my mental health, and my environment is a huge factor when it comes to productivity.
Unfortunately, I also happen to like rather nice things that often come with a price tag I don’t like so much, and given this is one of the toughest financial times I may ever experience, splurging on high-end furniture isn’t really an option.
So I put my thinking cap on and began brainstorming ways I could achieve a polished look without having to empty my savings account. The answer was upcycling, and it’s what ultimately saved my bank account.
These are the DIY dupes that saved me a stack of cash and were definitely worth my time.
The effortlessly cool coffee table.

- Cost to buy: AUD $729
- Cost to make: AUD $150
- Total savings: AUD $579
Right off the bat, I knew we needed a new coffee table. The previous one was definitely on its last legs, and honestly? Just not my general vibe. So I began doing what I do best (online shopping), but what I soon realised was that many of the options I liked were way, way out of my price range.
I remembered a friend telling me about a DIY she was considering – a travertine table. I decided this was something I needed to investigate. Turns out it’s pretty straightforward – all you need are three travertine pavers of equal size and some landscaping glue. Each paver should cost around AUD $30, FYI (I got mine at Bunnings).
Easy peasy – by far the simplest DIY dupe to kick things off!
The statement print.

- Cost to buy: Around $1000 (for larger pieces, framed).
- Cost to make: $30 for print; $50 for frame.
- Total savings: Around $900.
If you’re looking for a surefire way to elevate your space, art is the way to go.
It screams, “I’ve got my shit together”, plus, having a piece hanging from your walls will turn your house into a home.
I created a few original pieces of my own using Adobe Illustrator and had them printed myself, but if creating the art yourself isn’t your vibe, you can find some unique prints on Etsy at very reasonable prices.
Framing can be extremely expensive if you’re looking to have a piece professionally done so if you’re in a pinch, sourcing and framing your own stuff will massively cut costs. IKEA’s range of high-quality frames are amazing, the largest for less than $50 – and they’re what I used to frame my two statement pieces.
The tiled desk.

- Cost to buy: AUD $2,600.
- Cost to make: AUD $200.
- Total savings: AUD $2,400.
I’ve had my eye on this one for some time now, I loved everything about it except the price. I would often find myself daydreaming about it until one day I decided I’d give it a crack. I found a simple tutorial online, and the rest is history.
I will warn you, this one takes some time to set and even longer to dry (this is precisely why mine is still under construction). Don’t let this deter you, though – the savings are totally worth it. All you need is an old desk, console, TV stand or whatever else you want to tile.
Then grab some tile adhesive and regular grout, both of which you can pick up from your local Bunnings for around $200, depending on the size of your project.
The process is pretty straightforward: glue, tile, grout – got it?
The chic mirror.

- Cost to buy: AUD $164 – $364
- Cost to make: AUD $50
- Total savings: AUD $100+
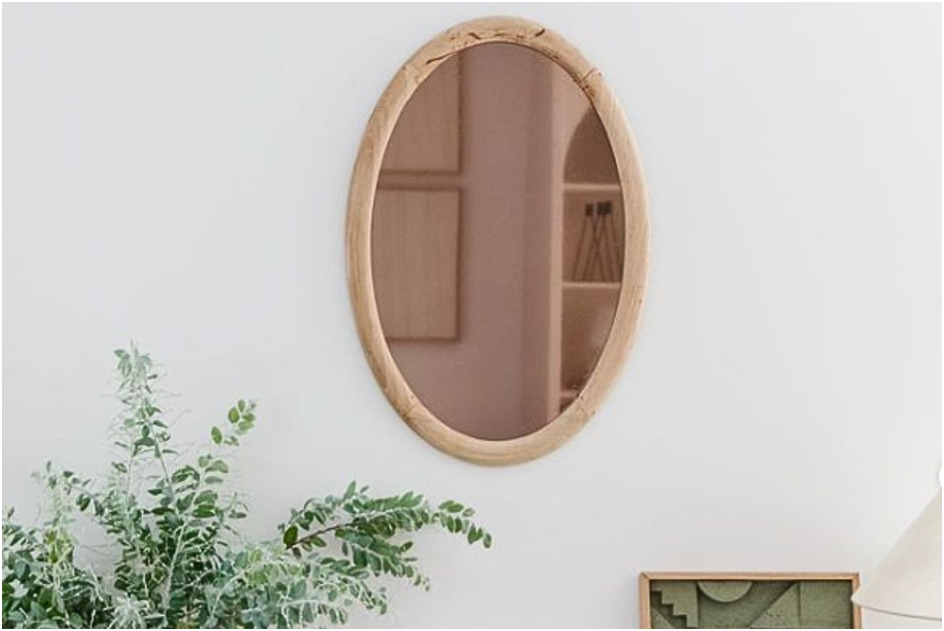
Ever heard someone say a mirror will transform a room? Well, they’re not wrong – mirrors enhance a space by spreading light and creating depth. Important things to consider when you live in a small apartment.
So when I passed a lonely mirror by the side of the road, I had an idea. I remembered a TikTok of a woman using window film to upcycle an old mirror.
My boyfriend was super keen on this one and told me that if he had his time over, he would’ve sold mirrors for a living. Mind you, he’s never actually made a mirror before, and works in weather data, so…
Very random, however, an extra pair of hands I couldn’t say no to!
You can pick up all the supplies for this one for less than 50 bucks, and it’s a project that requires virtually zero effort for anyone out there who wants to basically just DIY and chill.
When I look around the room now, I feel a sense of accomplishment and pride. I not only saved about a gazzillion dollars, but also turned another person’s trash into my very own treasure.
Upcycling is a sustainable and cost-effective alternative that gets a big tick from me!
Article originally posted on: https://www.mamamia.com.au/diy-dupes-for-my-home/


